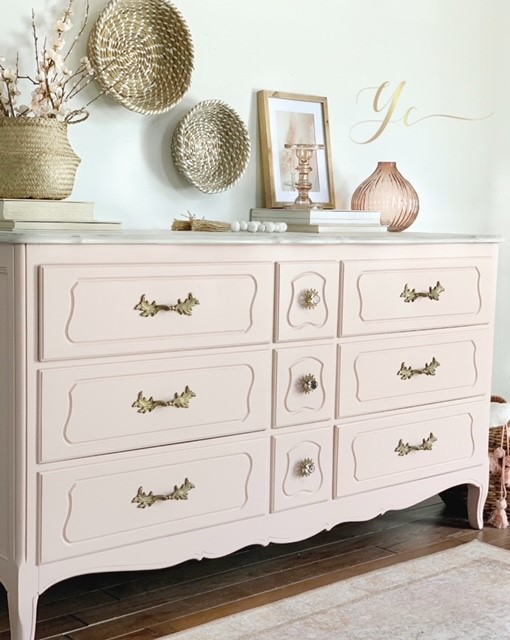
Do you have a piece of furniture you’ve kept in a garage or basement for years because you can’t bare to part with it? Perhaps it’s a family heirloom you have an emotional connection to but let’s face it, it’s simply ugly. Furniture reimagined means taking that piece and looking at what it could become, what new purpose it could serve in your home, and how it could be customized to fit your style.
Most antique and vintage pieces were built to last, I’ll share the steps I’ve taken to transform these aging gems into showpieces for your home.
Let’s start with prep work! THIS IS THE MOST IMPORTANT STEP OF THE ENTIRE PROCESS! I can’t emphasize that enough. If you skip these steps, you can expect your finish to look subpar and eventually fail.
Here are the steps I follow for every painted piece
Clean your piece– Furniture is dirty…years of dust, oils, and residue will prevent your primer and paint from sticking. I use KrudKutter for this step, but you could use Dawn dish soap and warm water.
Don’t forget the inside of the furniture too! Drawers and the inside the body will also need a good cleaning (usually multiple cleanings are needed!)
Complete Repairs– For small cracks or shallow scratches I use Kwikwood, it’s a two-part epoxy that’s easy to use and dries to a hard, sandable finish. For larger cracks or chipping veneer, I use Bondo. Make sure to wear a mask when using this product (both when applying it and sanding it) but it’s a staple in my workshop and I use it on most pieces.
Scuff Sand– Scuff sanding means going over the entire piece with 220-grit sandpaper and roughing up the surface enough to give the primer and paint some teeth to adhere to. I like to use sandpaper wrapped in a sanding block, this gives me a good grip as I’m scuff sanding a piece from top to bottom.
Clean Again– once you’ve scuff sanded, your piece will be covered in fine sanding dust. Be sure to wipe the piece down completely with a clean, damp cloth and once it’s dry, go over it with a tack cloth to pick up any remaining fine particles.
Now you’re ready to prime! Hop over to my next post dedicated to priming (To Prime or Not to Prime, THAT is the Question) which goes into detail on types of primer and best ways to apply it.
This post may contain affiliate links, which means I’ll receive a small commission if you purchase through my links, at no extra cost to you. Please read the disclaimer for more information.

